You mentioned the term ‘felling cut’ several times. Can you explain this in more detail?
We get asked this so often, we copied this page from our FAQs!
'Felling cut' is just a nick name we came up with on the farm to help us teach the regular stream of farm volunteers. We borrowed the term from Tree workers. You cannot cut down big trees with a machete but some of the principles are the same.
We feel it’s a safer cut in most situations around our farm as well as being quite energy efficient. It combines a gentle chipping action with a blade that stops buried in the cut on each stroke.
It still can be a brisk process even though we are slowing everything down for safety!
We are not going to mention much more about safety in this answer. It is just a quick run through of how and why we use this one particular style of cut. Their are many more to choose from and all will suit different situations!
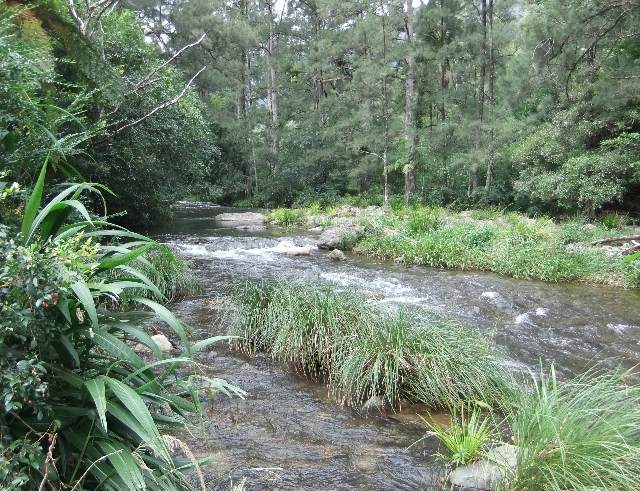
So the problem in this scenario is the Castor oil plant. We cut back the weeds like this every year on the river banks. We don’t poison them as it’s in a flood plain and the weeds actually do a great job of stabilizing the banks from erosion. Slowly the Lomandra grass and River Oaks get a foothold and smother out the weeds. We are not huge fans of using chemicals either!
Castor oil plants start out with a very soft hollow core and within a year they get very tough and woody however, they are no match for a bit of technique and a well tuned machete!
That's a full sized Tramontina Bolo in the side of the trunk for a comparison on the trunk thickness.
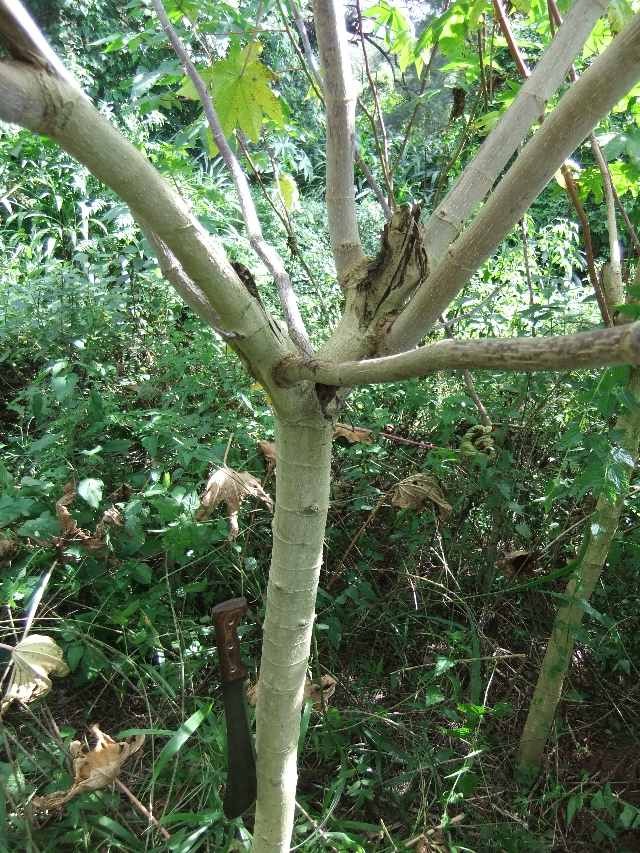
First off, we clear the area. You can use the machete for this but we just used a long thin branch cut from one of the Castor oil plants to whip the area down. That is chest high Stinging Nettle all around the base and I was not in a hurry to get my hand too close!
Move back and look to see what’s up there! Nice and clear on the ground as well?
The next step is to clear the crown systematically so when we are finished cutting, we can neatly pile everything to one side. The crown is only one years worth of growth and it’s everything above the thicker, straight trunk .
We do a felling cut in two passes on these. First we come up from underneath or the ‘loaded’ side and aim to cut about half way. We cut on the side of the branch that is leaning first because if we cut here last, the branch will pinch the blade potentially leaving you with a wrestle to get it out. It’s not safe either!
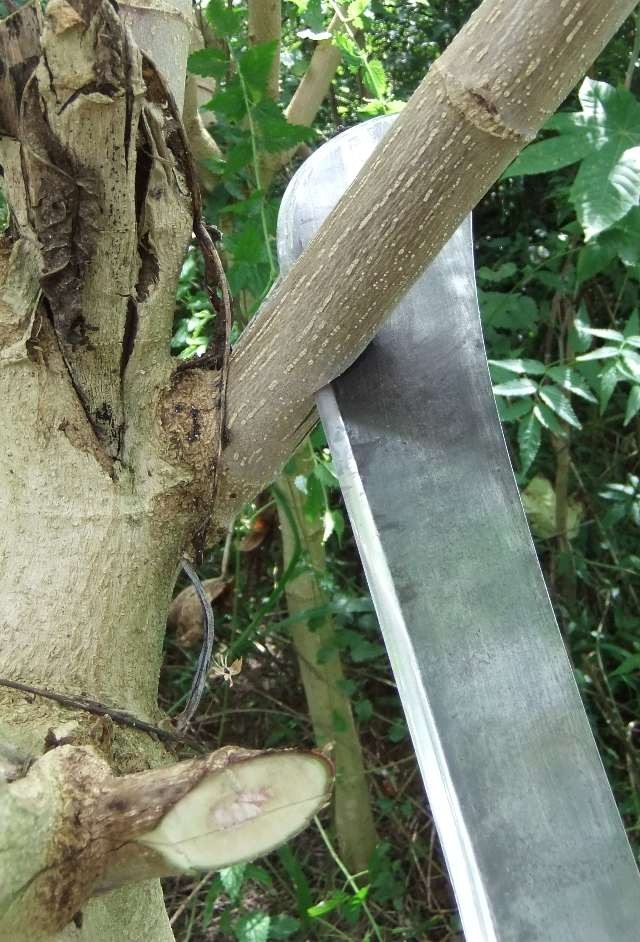
Notice the cut is not perpendicular to the branch! Cutting at an angle always sinks the blade in much deeper in harder materials compared to a perpendicular cut. This conserves energy.
The second cut is on the ‘high side’. This time, we aim to cut almost to the depth of the first cut leaving a strip of material in the middle. This is called a hinge (just like on a door). This hinge somewhat directs where the branch will go and slows down the falling over process. This buys us time, sometimes that's an advantage!
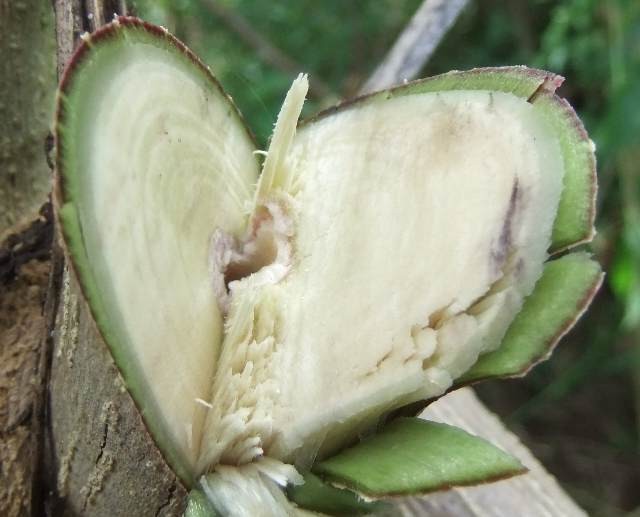
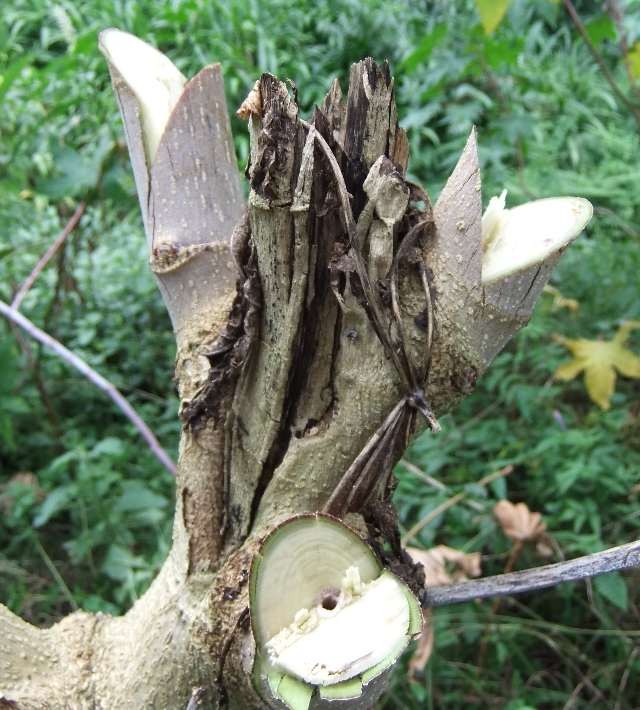
So why did we choose this method in this situation? It’s safer for us, more controlled and conserves energy. I do not have to stop the blades momentum, it stopped itself in the cut. I did not have to cut all the way through because it snapped at the hinge as it fell. The stroke finished in a safe, predictable position. The branch fell in a predetermined area allowing me to plan ahead for an easy clean up.
It all sounds like too much? Well, this process of removing the crown takes a very short space of time. When you are doing several hundred in a day, you will quickly find the most economical way of doing it. For most of the visitors, this process becomes second nature fairly fast!
Now onto something thicker! The trunks are three years old. This one is about 75mm in diameter. This cut was done in three passes.
First we make two cuts, one down and one up on an angle about half way into the trunk. As this chips out it creates a big wedge of an opening.
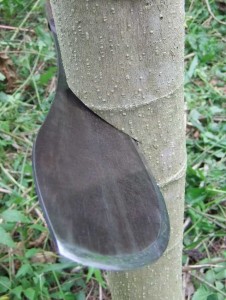
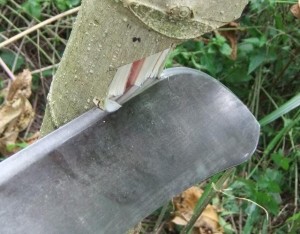
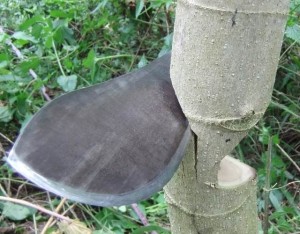
The final pass is on the other side, cutting down to leave a hinge and stopping the swing in the cut.
We then remove the machete and stow it safely in a sheath or put is somewhere our of harms way. With both hands free, we push the trunk over and then collect and stack the branches. Rinse and repeat!
This picture was taken just on the edge of our testing ground! Not a bad little spot to spend a quiet days work!
